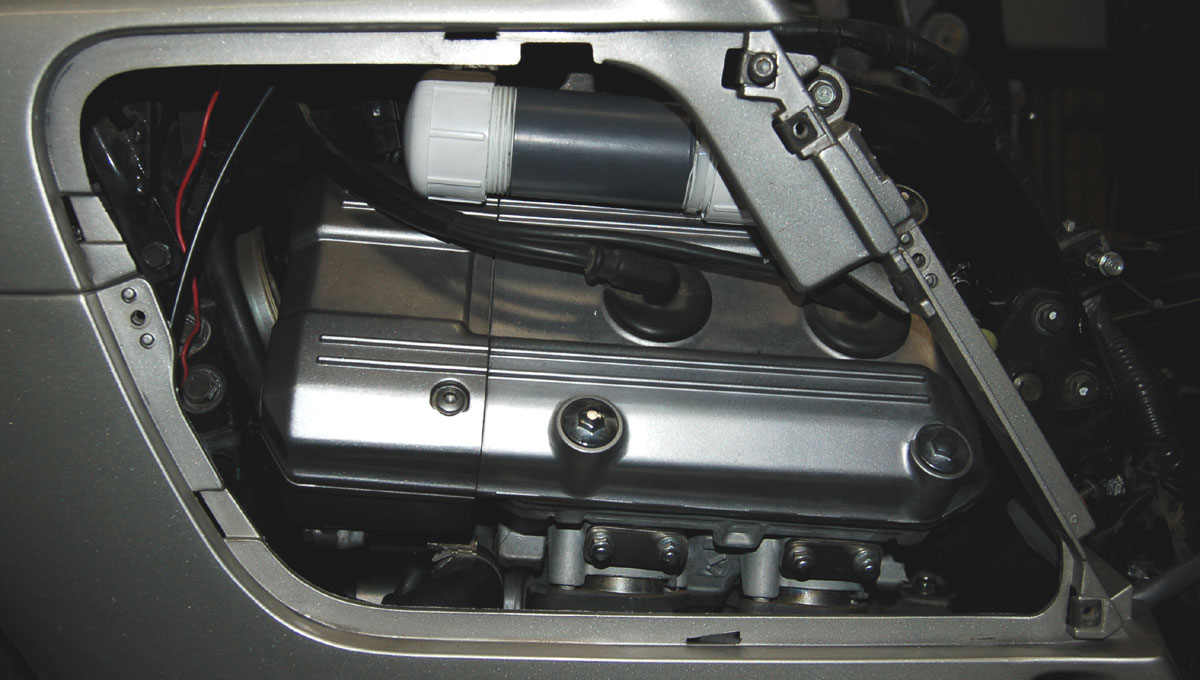
You can see the vacuum canister zip tied in place above the left head.
It's PVC: 1-1/2" x 5" Sched 80 with two caps of Sched 40.
One cap was tapped for the 1/8" barb.
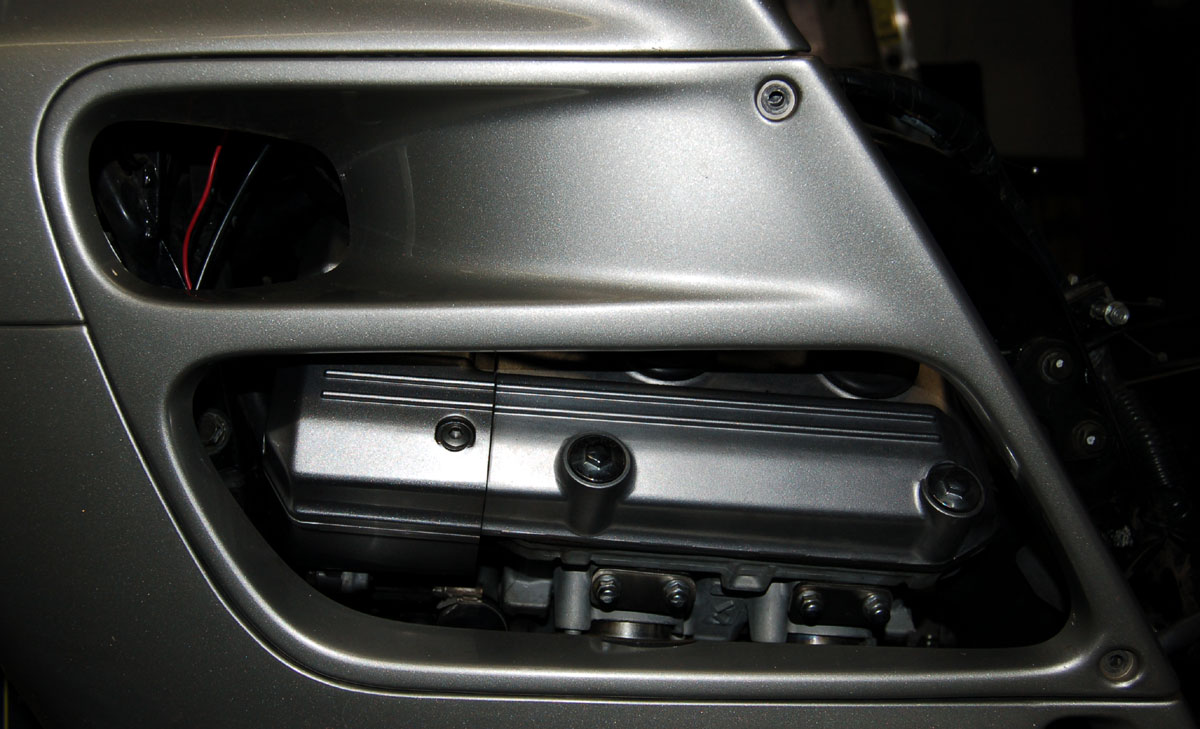
With the maintenance cover in place...it's out of sight.
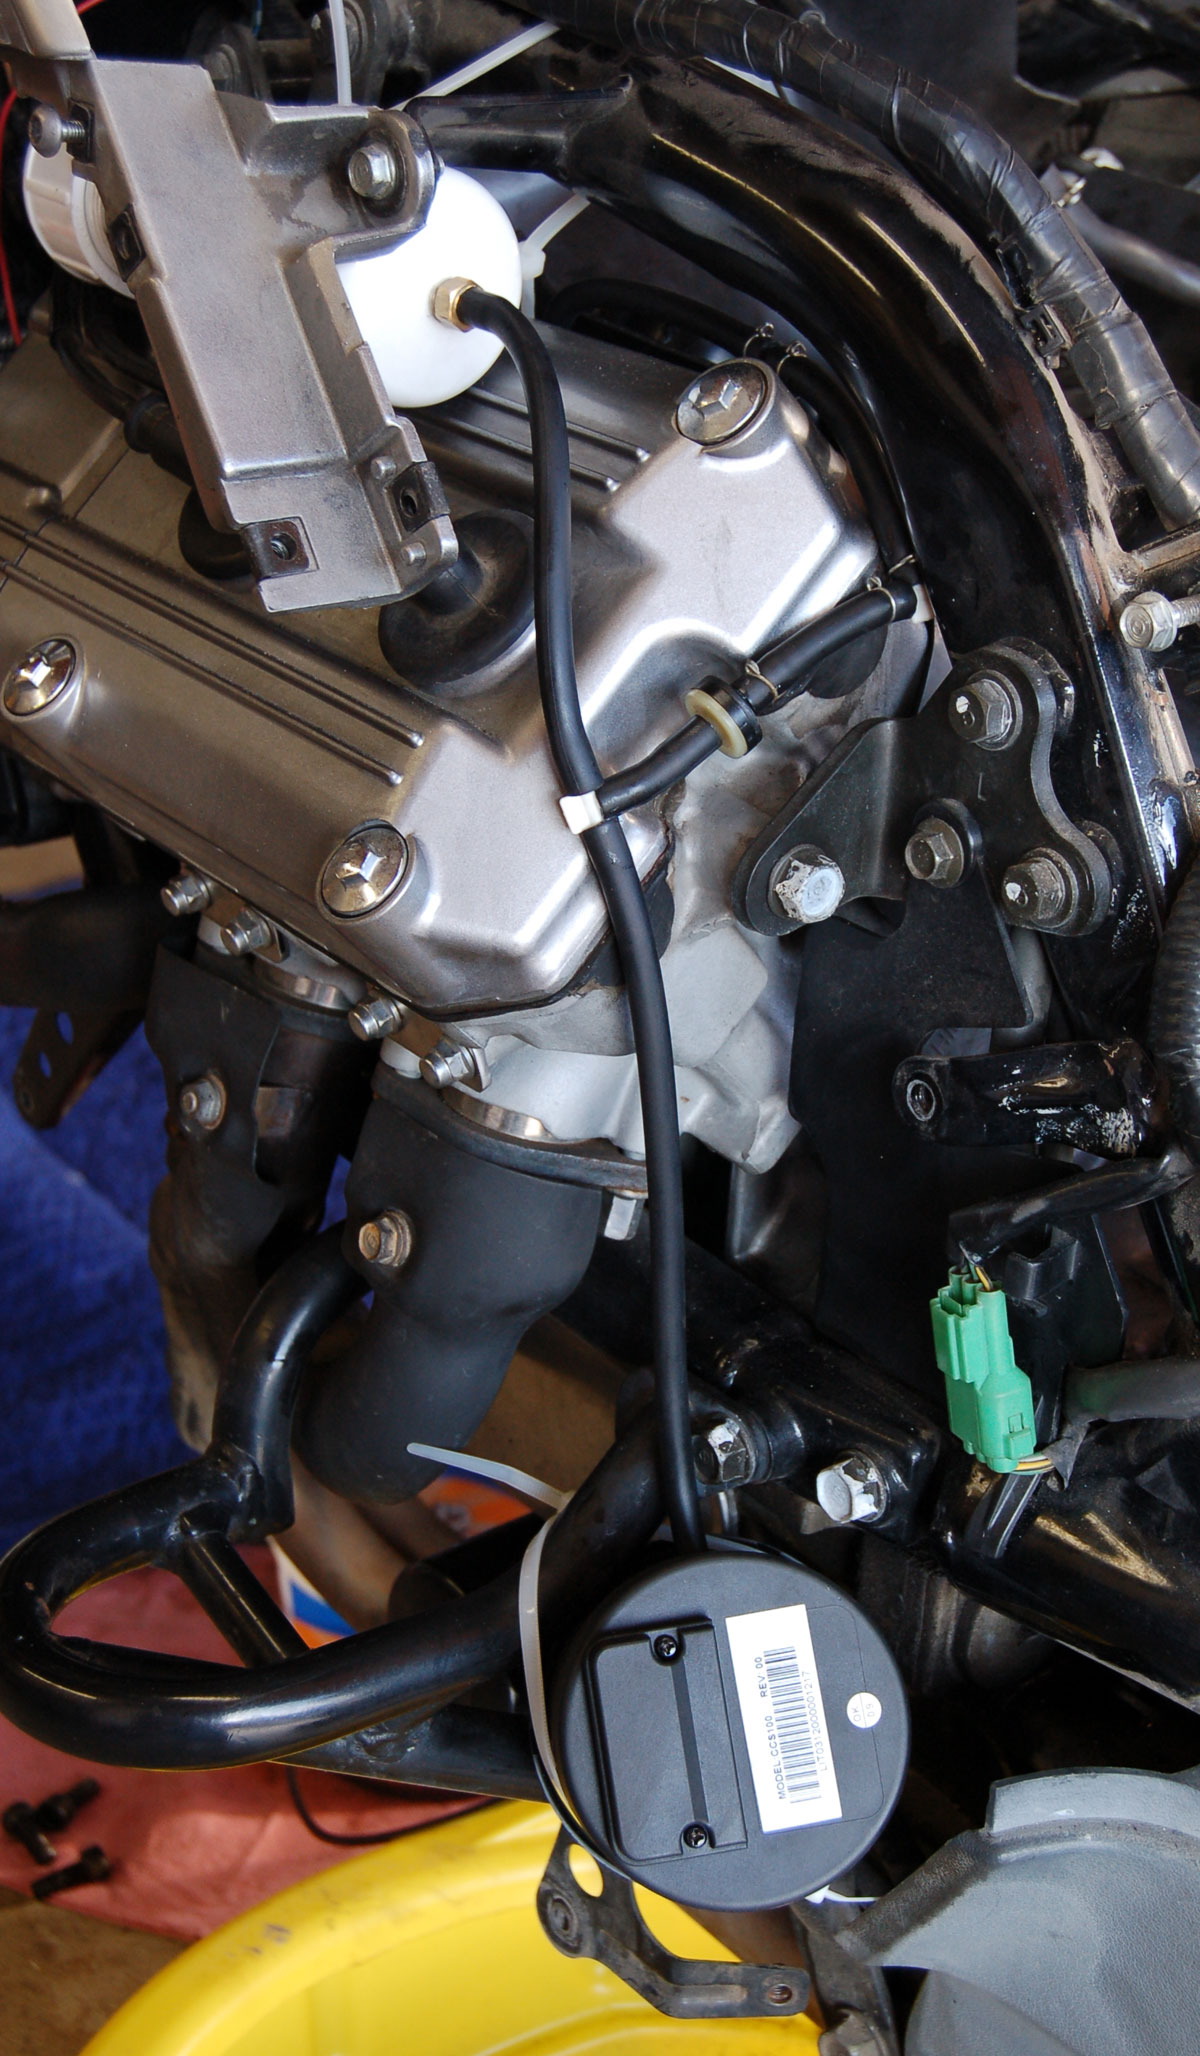
You can see the vacuum line from the engine coming out from the T behind the left side.
Then there's the check valve.
At top the line's connected to the vacuum canister.
The cruise servo is zip tied in place at the bottom.
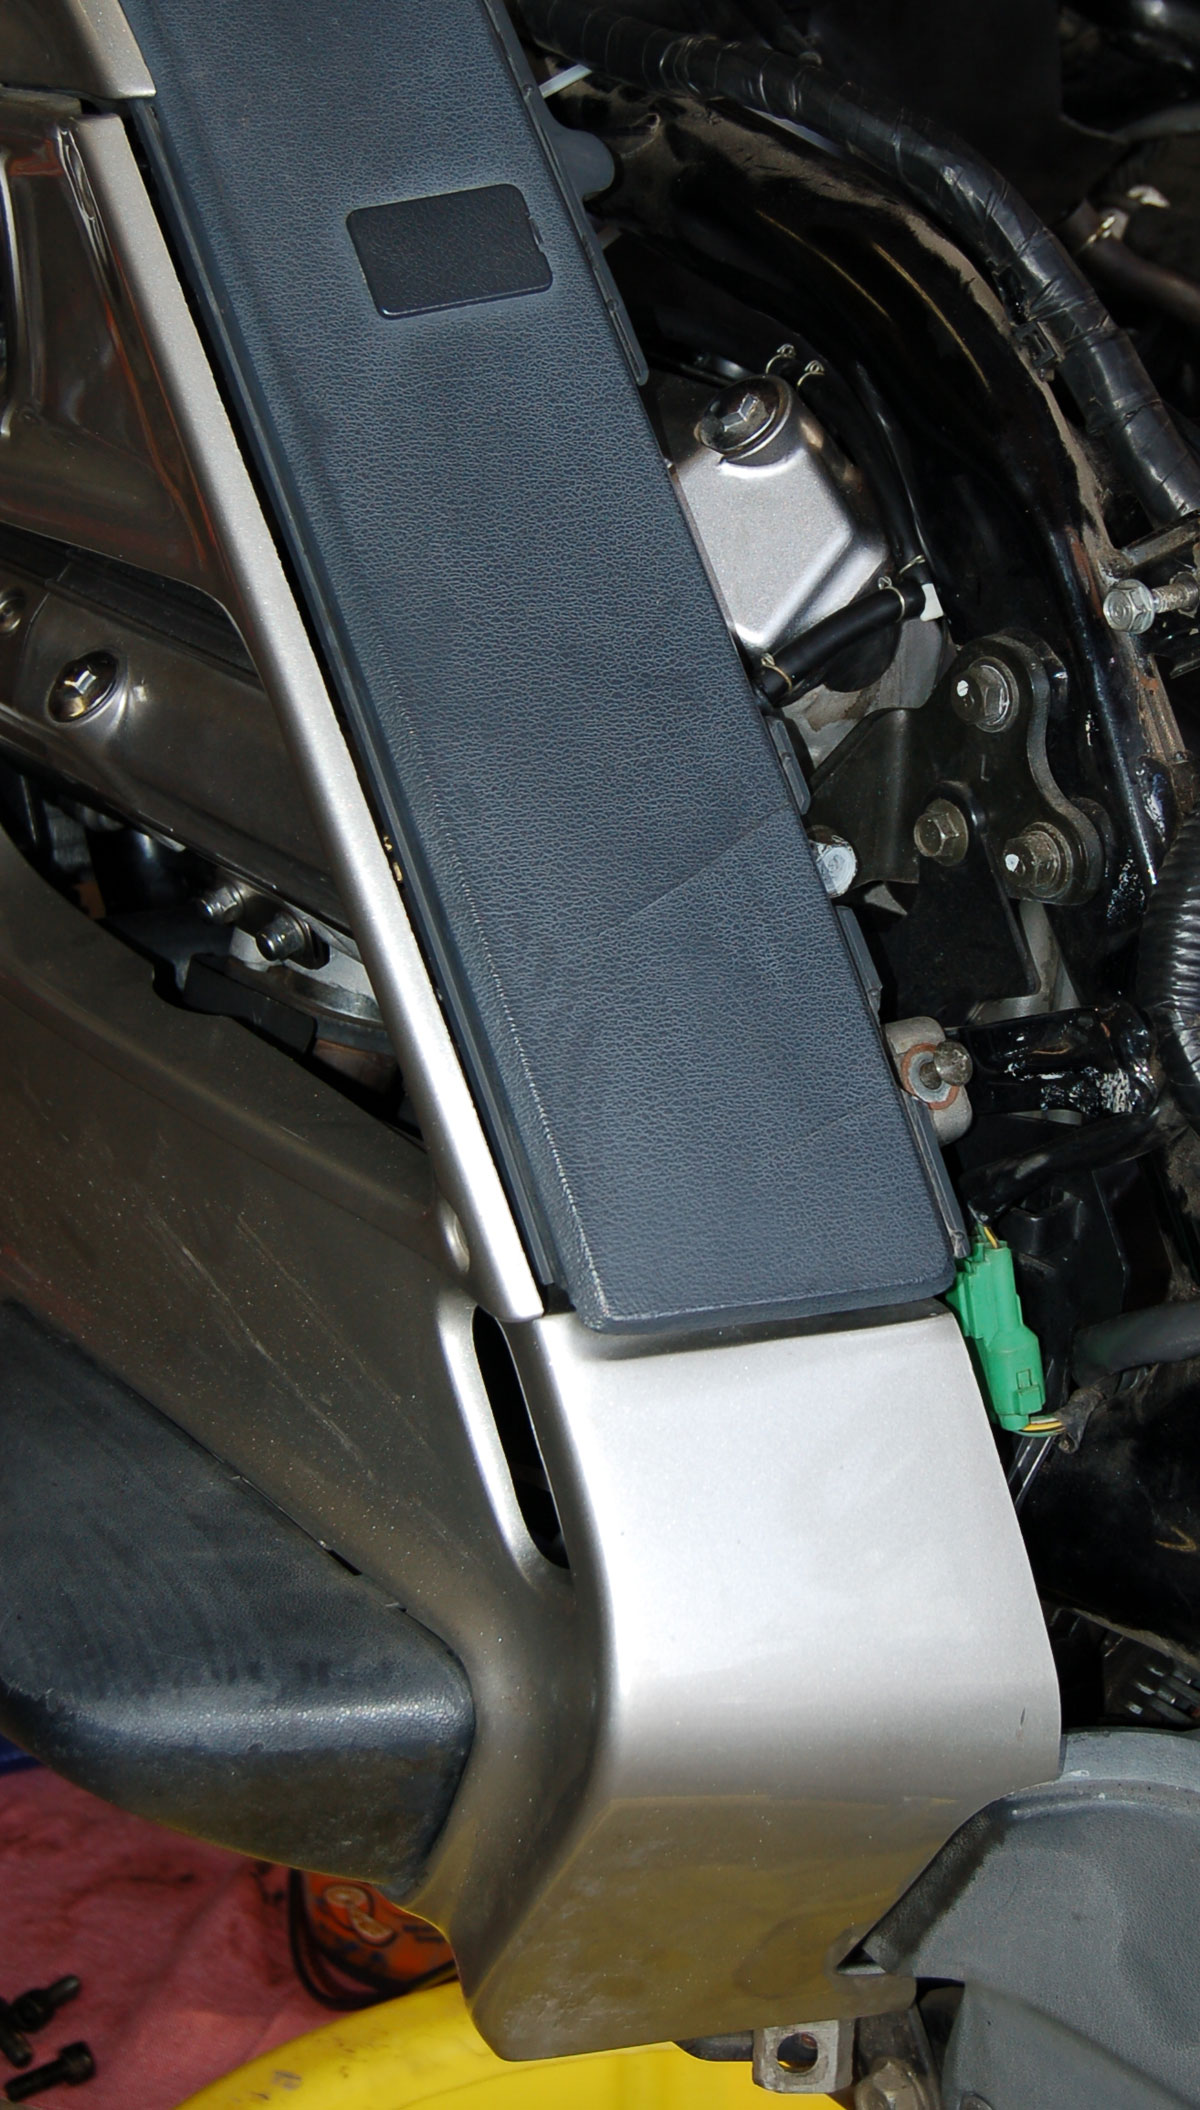
With tupperware in place, it's all out of sight.
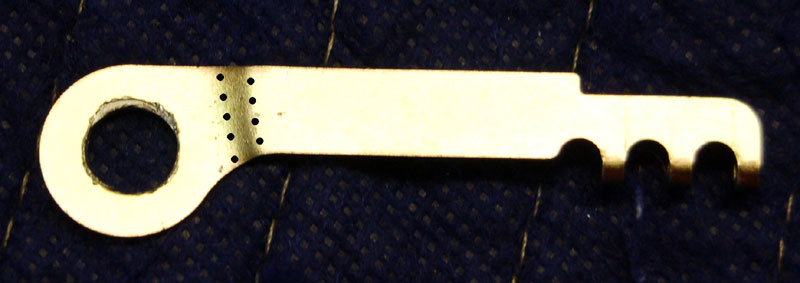
This is PN 27, 3 Bead Connector, from the Audiovox kit.
I've already drilled the large hole out to fit over the shaft of the throttle bell crank.
I did my best to put two slight bends in the arm at the black dots, as the center of the bell crank is recessed.
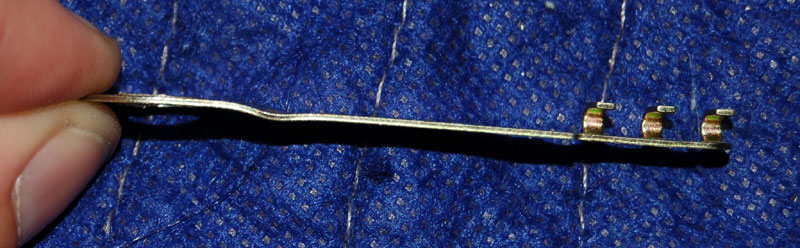
This shows the bends a little better.
I'm no sheet metal worker, that's for sure.
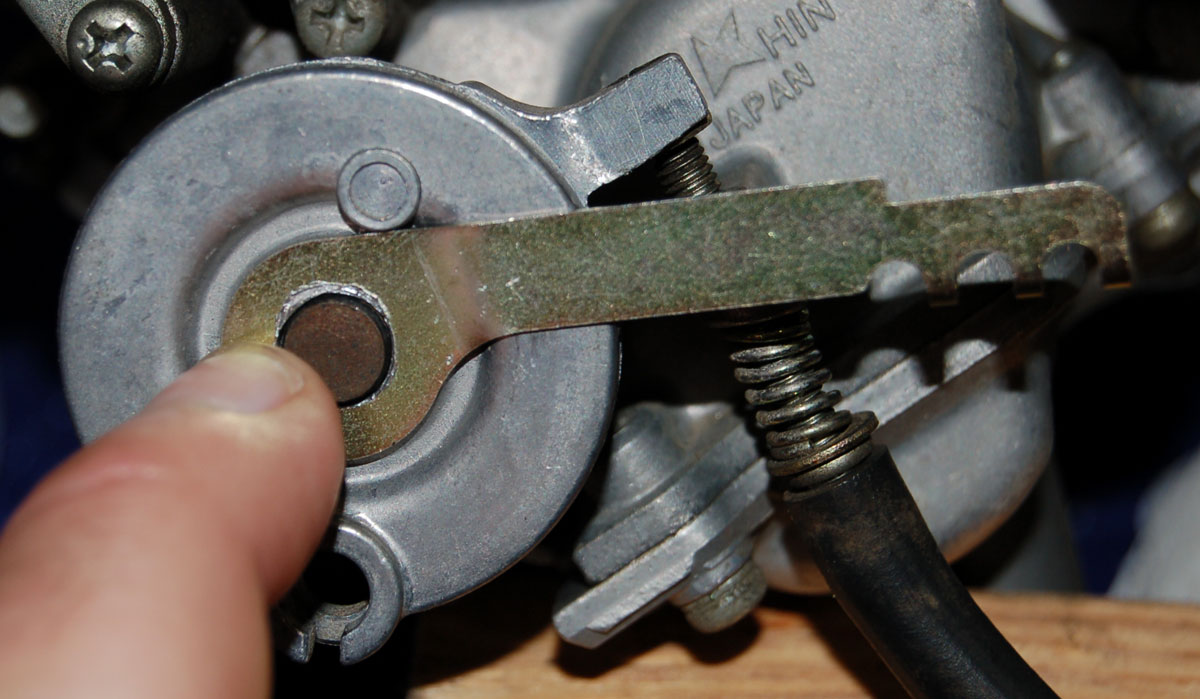
With the enlarged hole and slight bends, it fits nicely on the throttle bell crank.
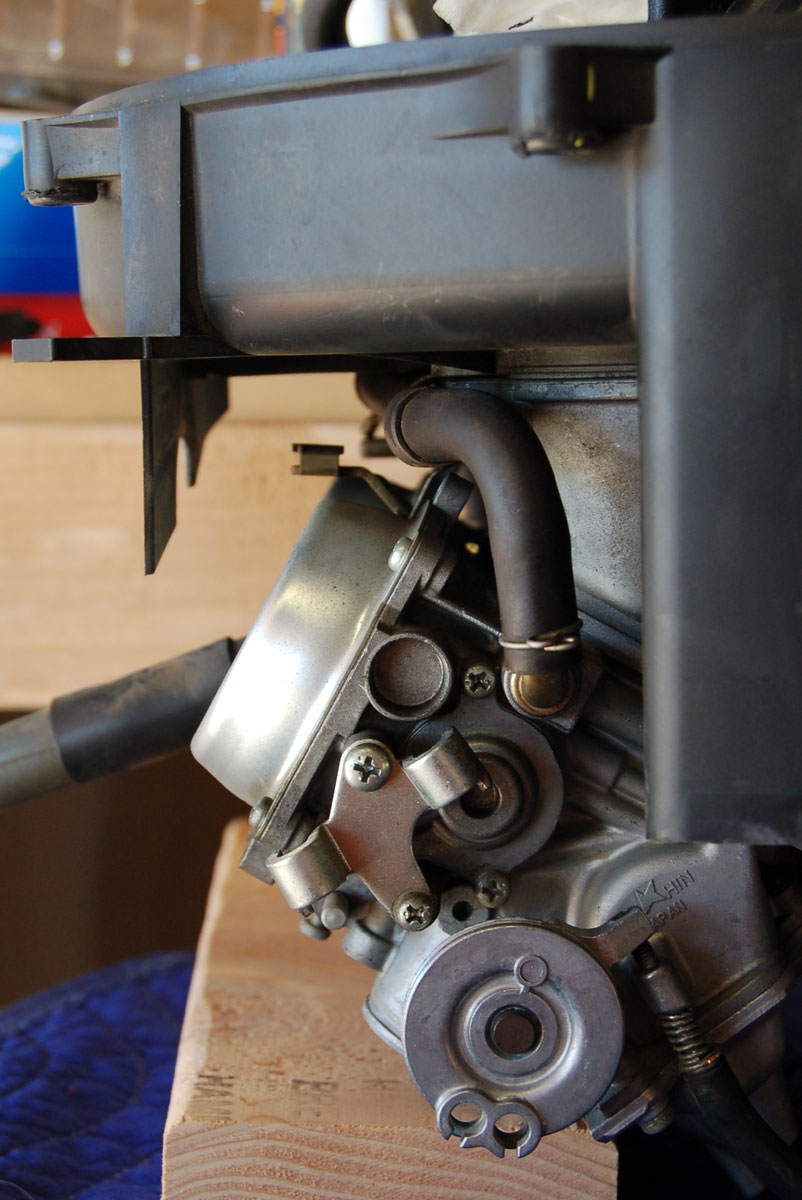
Here's the carb bell crank and the lower half of the air box on top.
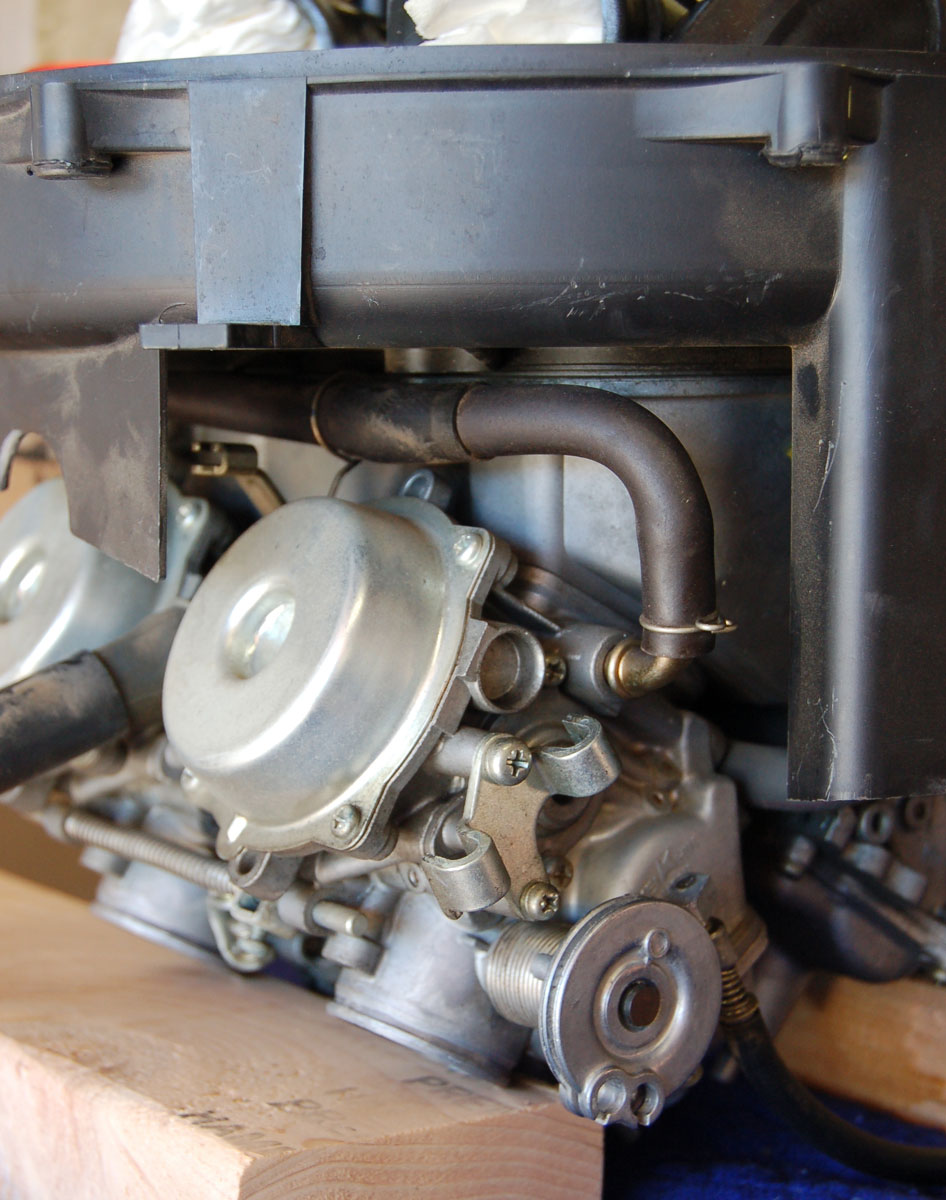
A slightly different angle.
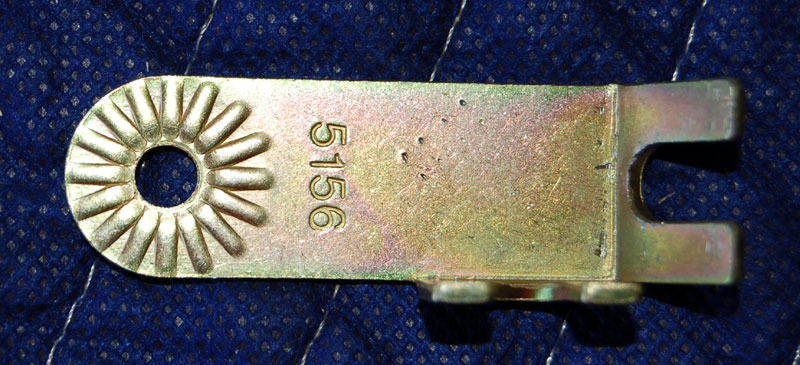
This is part of PN 16, Adjustable Cable Mounting Bracket Assy.
I've bent the (right, as pictured) prongs out from 90 to align better with the throttle.
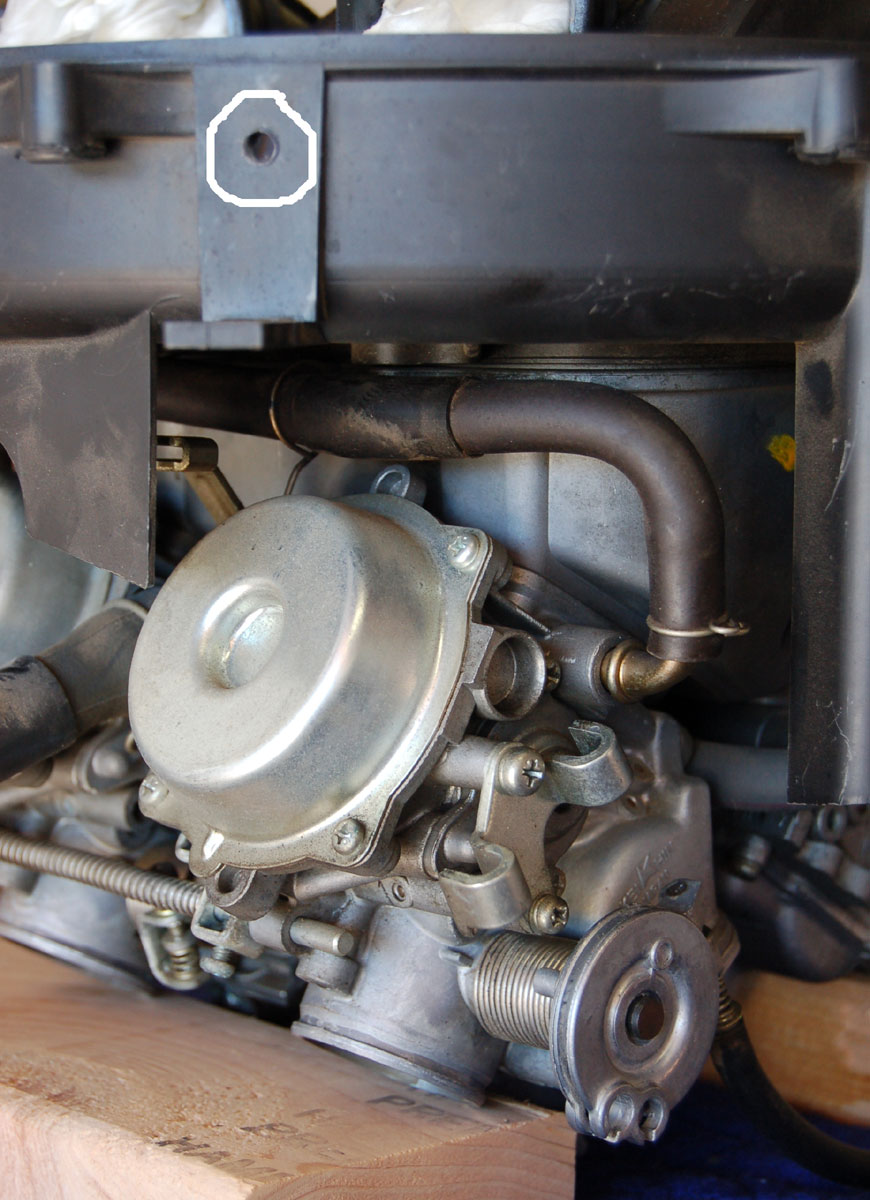
I've drilled a hole in the air box for mounting the bracket.
Picked that spot because the plastic is thicker and flat at that location.
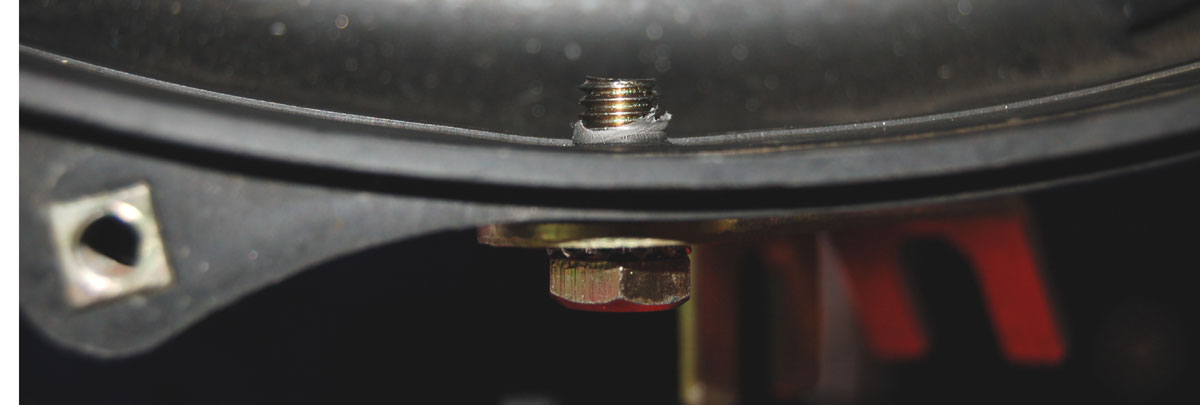
That's an M6 x 5/8" bolt from the kit.
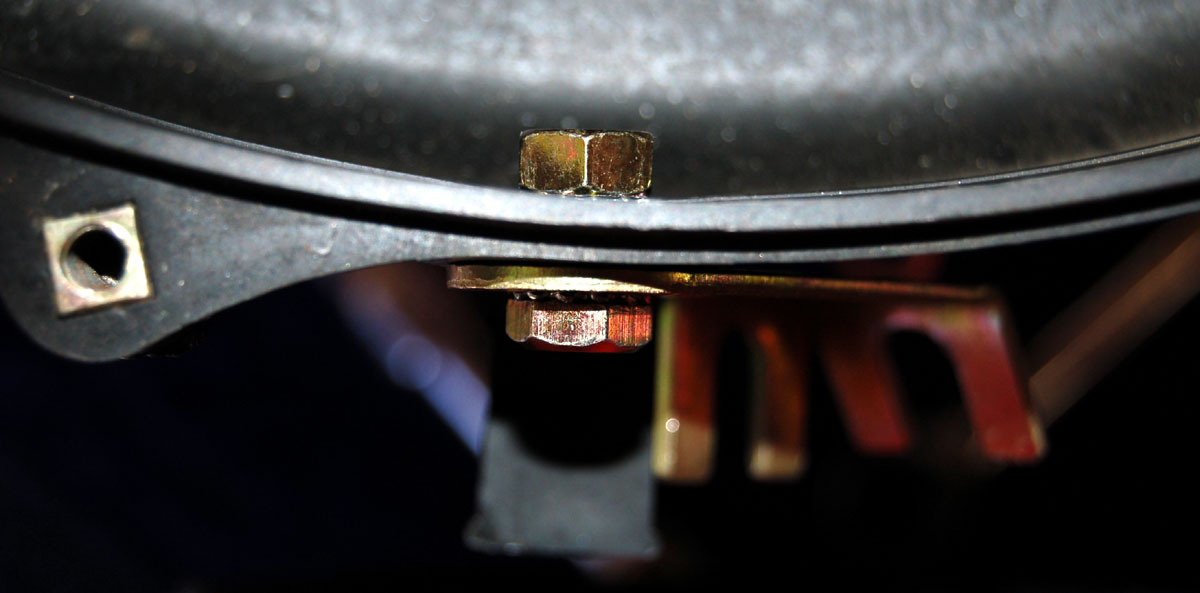
With lock washer and nut.
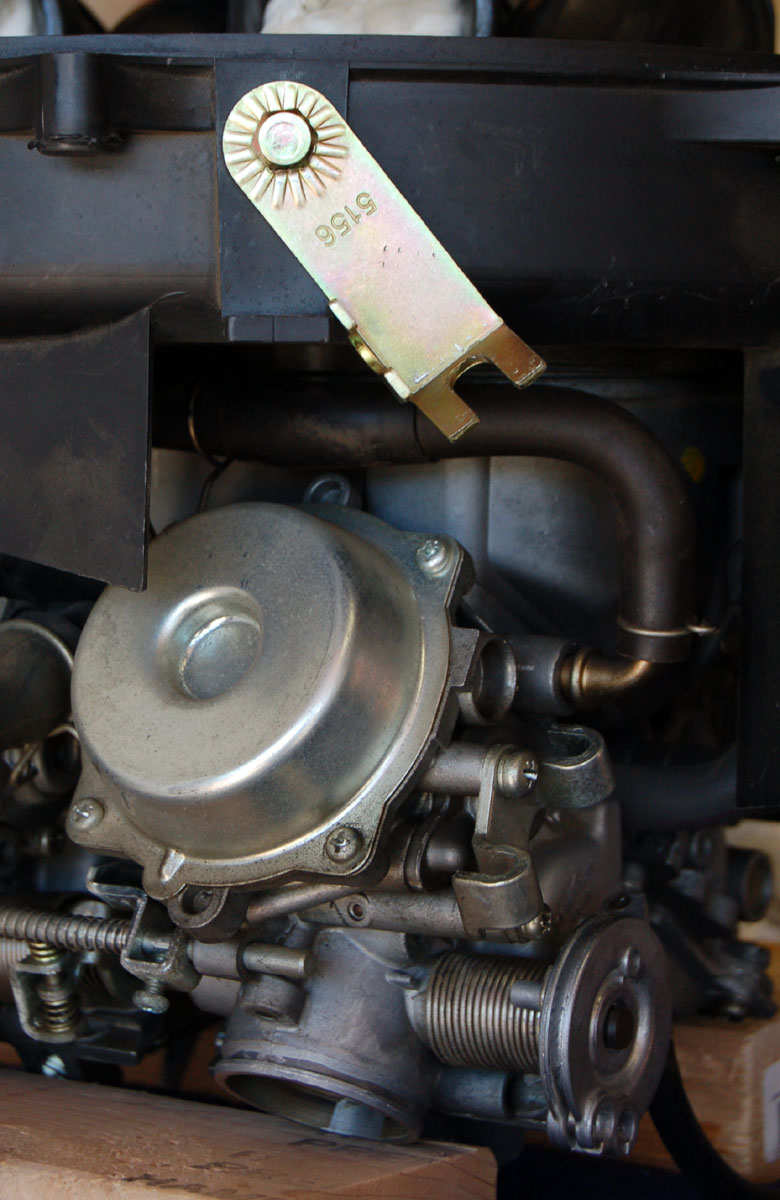
In relation to the throttle.